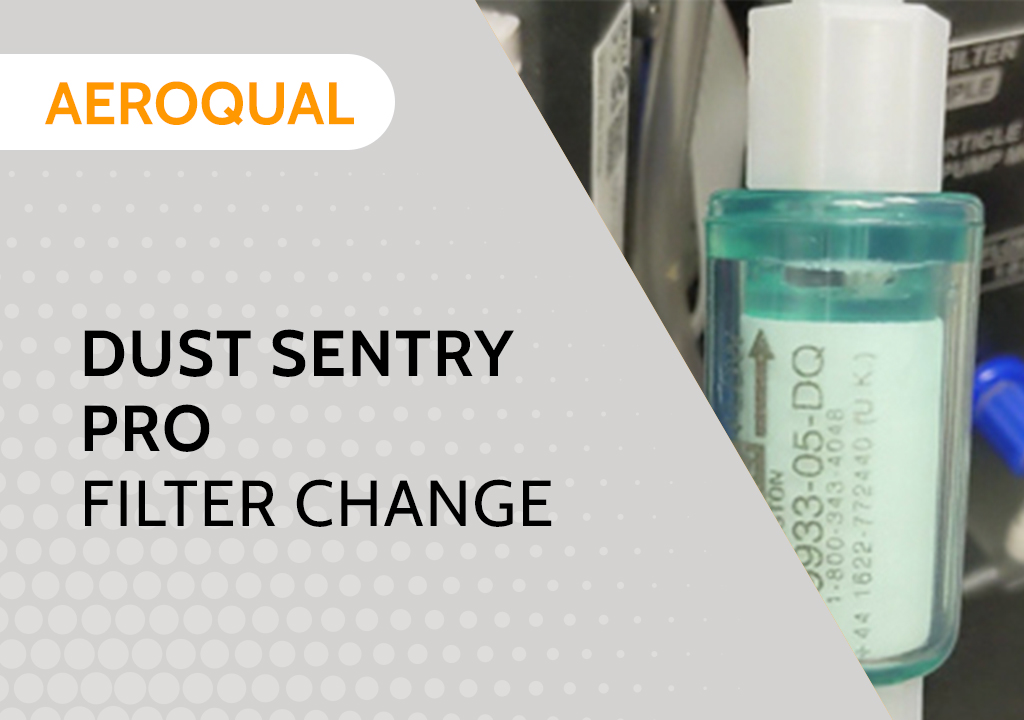
Dust Sentry Pro – Filter Change
Hey guys. Mick from Specto Technology here. Today I’m going to show you how to change the filters on your Dust Sentry Pro. Your Dust Sentry Pro has two filters – a sample filter (labeled DQ) and a purge filter (labeled BQ). To change the filters: Pull the filter out from the cassette. Remove the filter from the connectors – just pull them out of the connectors. Attach the new filter into the connectors, making sure the arrow is pointing to the top so that you have the right flow direction. …
Dust Sentry Pro – Filter Change Read More »