Load Sensing Demo Kit - Unboxing Today we're going to do an unboxing of a load sensing demo kit. So we'll start by unboxing our gateway, and this is the new 4G gateway. So pull the gateway out of the box here. The ethernet cable is pre-installed. Put that to the side there, and then let's go through everything else we've got in the box here. LSG6 4G Items: A USB-C to ethernet cable. This is for local connection from the gateway to your computer. We won't need that right now. This...
Load Sensing Demo Kit – Unboxing
Today we’re going to do an unboxing of a load sensing demo kit. So we’ll start by unboxing our gateway, and this is the new 4G gateway. So pull the gateway out of the box here. The ethernet cable is pre-installed. Put that to the side there, and then let’s go through everything else we’ve got in the box here.
LSG6 4G Items:
- A USB-C to ethernet cable. This is for local connection from the gateway to your computer. We won’t need that right now.
- This is the back panel mounting bracket. So you can mount this easier on to a wall
- Then you have the POE, which has a AC power cable and the actual POE power supply.
The Power Supply
So all we’re going to need right now is this power supply and in the top of the box here, we have all the documentation for this gateway. So to power up the gateway, all we need to do is plug in the AC adapter to power POE, pull off this little twist tie, kind of plug in this AC cable, and then if you look at the adapter here, you have data and power out and data in. Data and power out is going to go to the gateway. So it’s going to provide power and data, if you’re using an external internet connection or just power in our case.
SIM Card Slot
So we have a SIM card slot on the side here. I’ve got this demo unit is pre-installed with a Verizon LTE SIM, and then you have the, debug port down here, which has the on-off button and the LED indicator blinking red means that it’s still booting up and then once it’s just solid green, means it is finished booting and then the only other connector on here is the external radio modem ports.
Internal Modem Radio & Internal Radio Antenna
The internal modem radio in here, the internal radio antenna is good for anything under like two kilometers or so, if you want to get the full 15 kilometer range, you want to put an external antenna onto here.
Node & Vibrating Wire One Channel Node
All right, while the gateway finishes booting up, let’s un-box our node and here we have a vibrating wire one channel node. We’ve got one port to put a vibrating wire sensor cable through.
So take our Hex driver, loosen these four screws and in here you can see, this is where we would wire up our four sensors. We have our lithium cell battery here, and then there’s a switch to go from battery to external power. Right now it’s an external power. It means this node is powered off because there’s no external power connected through this USB port.
Configuration Phone
To complete our setup, we’re going to un-box our configuration phone here. So we’ve got a USB mini to USB micro cable, and we have our Android phone and you can use any Android phone for this, but our kits come with an Android phone with the configuration app already installed.
So once the app is installed on your phone, all you have to do is plug the USB mini in into the node. Plug the micro end into your phone or USB-C if you are using a newer model phone and then as soon as you plug that in, the DUL gap will open up.
Connecting Node to Gateway
Okay. So now to connect this node to our gateway, we’re just going to go to node configuration, setup wizard, and we’re going to follow the steps here. So we’ve already pre-configured this node, so I am just going to go next, next, next.
We can set our sensor configuration here for the type of frequency range we want to measure. It’s going to give us an output of the data. We don’t actually have a sensor connected right now. So this is giving us a bad vibrating wire and a bad thermistor reading as we would expect, and then we go to the radio configuration. LS radio is for the 4G radio.
Multi Gateway Radio
There is also the multi gateway radio, which is for the multi gateway version. For the node, network size here, it’s always recommended to put this to your final node size for your project even if at the beginning, you don’t have all those and then advanced options, we’re going to use the defaults.
We’ve already got our gateway information already pre-programmed into here and then we’re going to hit next to do the signal coverage test and as long as our phone is connected to WiFi here, this will give us the results on the phone as soon as the test is complete.
Connecting to WIFI
If we weren’t able to connect the phone to WiFi, either from your office WiFi or tethered to your own personal phone, you would do the offline test option and we could collect the results later from the gateway.
Now our test has completed, and you can see our results here. We’ve successfully connected to the network and these SF numbers are the spread factors, and that tells us the quality of the connection.
What we want to see is, we want to see the lowest spread factor values being successful and we have nine out of 10 on SF-7, which is the lowest spread factor, which is pretty good. Ideally you want 10 out of 10 on everything, but nine out of 10 is pretty good!
-
 Wildfire Cleanups and Recovery: Perimeter Air Quality Monitoring
 -
 Protection from Wildfire Smoke – California, Washington and Oregon
 -
 What is Respirable Silica Dust and Why Do You Need to Monitor It?
 -
 New Jersey Perimeter Air Quality Monitoring (PAM) Technical Guidance Explainer
 -
 Air Quality Matters: Wildfires & AQI
 -
 Aeroqual Ranger™ Cloud from Specto Technology - Configure Alerts
 -
 Aeroqual Ranger™ Cloud from Specto Technology - Connect to Wi-Fi
 -
 Aeroqual Ranger™ Cloud from Specto Technology - Swapping Sensor Heads
 -
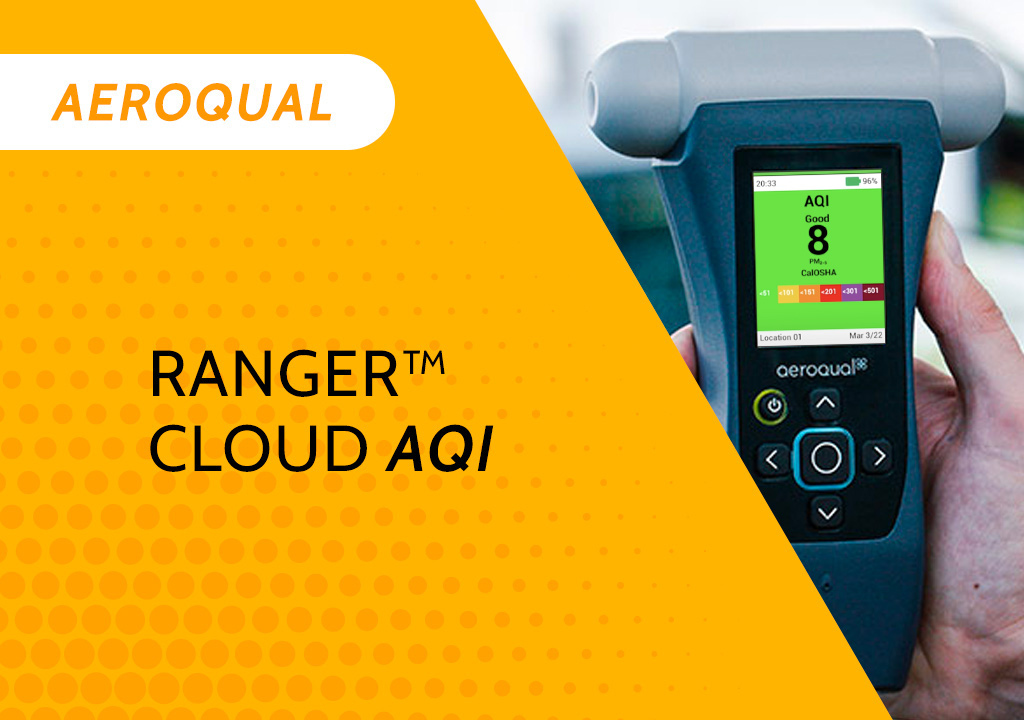 Aeroqual Ranger™ Cloud from Specto Technology AQI
 -
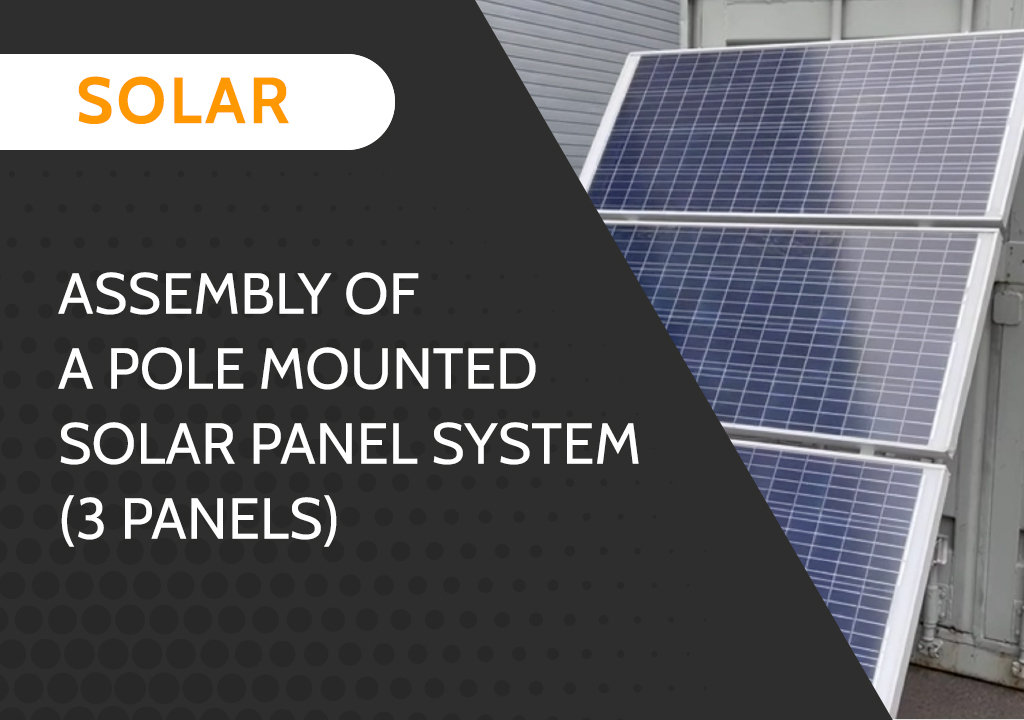 Assembly of a pole mounted solar panel system (3 panels)