Putting Together a Double Solar Panel Mounting Bracket
We’ve got the bracket parts and all of our hardware here, which I’ve put the lock washers and flat washers on all the bolts just to make the assembly easier. I’ve got our 200 watt panel already ready to go on a nice cardboard surface so I don’t scratch it up, and I’ve got a 150 watt panel over here.
Now, in this case, we’re going to mount the 200 watt panel first because it is larger. We’re going to put the brackets that go on to the back of the solar panel first. We want to put the narrow, the shorter leg of the angle is going to be mounted to the panel itself. Notice there is one end that has two holes and one end that has one hole. The end with two holes is going to be for our 150 watt panel. So we want to make sure that that end with one hole is on the 200 watt panel.
Nuts & Bolts
So we’re going to put our four nuts on bolts. The easiest way to bolt all these on is to take your bolt, put it through the bottom on the panel, and then put your flat washer and nut on from the top.
Next thing that we’re going to do is we’re going to attach the legs. We’re going to install them the same orientation as the angle that they’re attaching to, and they’re going to mount onto this bolt, this hold right here on the side.
So all we do is stick our bolt in here, screw those on, then do the same thing on the other side. This hole here matched the orientation of the angle like so.
Installing the Feet
Now, we’re going to install the feet, one each on the bottom of each leg and install them so that the short part of the foot is the bottom, the long part gets mounted, and then one each foot on the bottom side of the solar panel. Again, the short leg is the bottom.
150 Watt Panel
Now, we’re just going to stick the 150 watt panel on top. Pay attention to keep your junction boxes on the same side to make wiring easier later. So we’re going to slide this on and then we’re going to hang it from the top pole, so put the bolts through and then line up the hole on here and then same thing here. And again, use the second hole from the top.
And now we’re ready to flip this over so we can put on the smaller 150 watt panel. So just lift it by the top. Now, we’re just going to stick the 150 watt panel on top. Pay attention to keep your junction boxes on the same side to make wiring easier later. I’m going to slide this on and then we’re going to hang it from the top pole.
So put the bolt through and then line up the hole on here, and then same thing here. And again, use the second hole from the top. And we’re going to put the bottom holes in, the bottom bolts.
And then last thing – Adjust the angle of the legs and feet, if you need to and tighten everything up.
-
 Wildfire Cleanups and Recovery: Perimeter Air Quality Monitoring
 -
 Protection from Wildfire Smoke – California, Washington and Oregon
 -
 What is Respirable Silica Dust and Why Do You Need to Monitor It?
 -
 New Jersey Perimeter Air Quality Monitoring (PAM) Technical Guidance Explainer
 -
 Air Quality Matters: Wildfires & AQI
 -
 Aeroqual Ranger™ Cloud from Specto Technology - Configure Alerts
 -
 Aeroqual Ranger™ Cloud from Specto Technology - Connect to Wi-Fi
 -
 Aeroqual Ranger™ Cloud from Specto Technology - Swapping Sensor Heads
 -
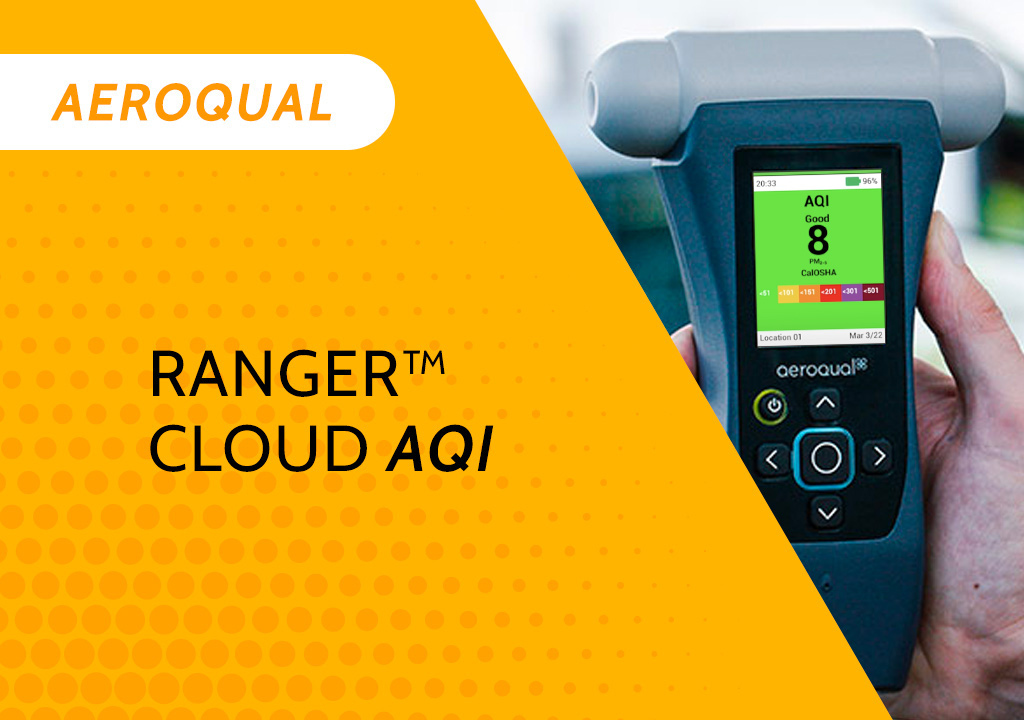
 Aeroqual Ranger™ Cloud from Specto Technology AQI
 -
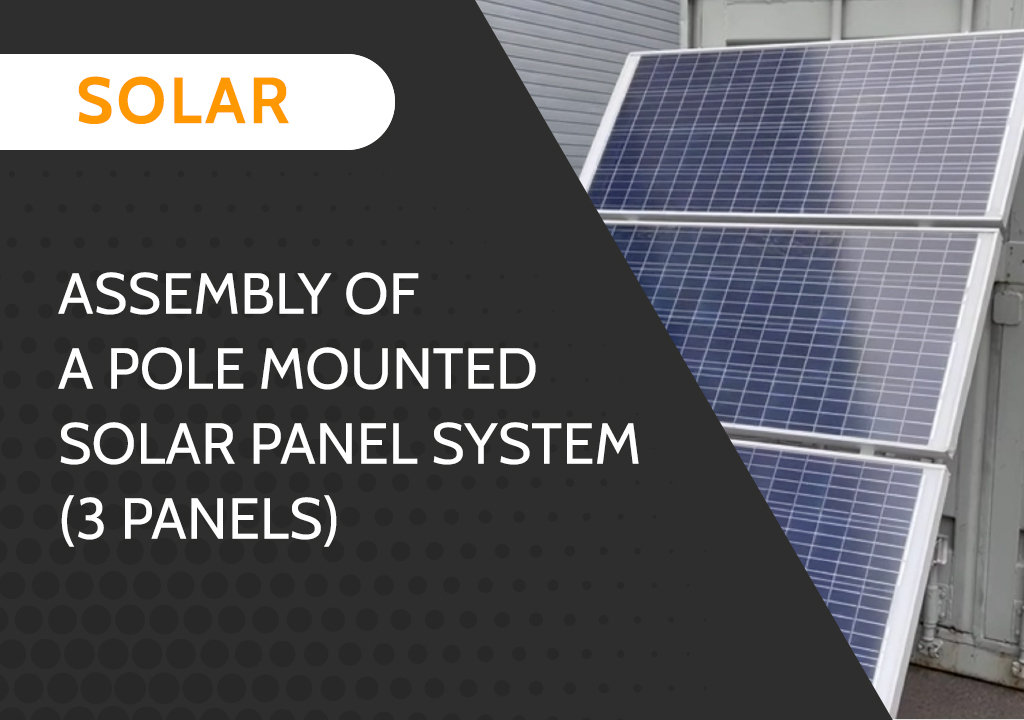
 Assembly of a pole mounted solar panel system (3 panels)
