Hey guys, Mick from Specto Technology here. Today, I'm going to show you how to calibrate a VOC module in the Aeroqual AQS1 monitor. So, what we're going to do is take you through how to connect the gas cylinders up to the monitor, and then take you through the software and how you actually update the calibration curve on Aeroqual Cloud. Service Kit So, the first thing we're going to do is just show you the hardware that we're using here. So, this is in your service kit. This is a flow regulator at 0.1 liters per minute, a hundred milliliters per minute. Then you have some tubing. This is Teflon tubing. It doesn't absorb any contaminants. So, it's clean...
Hey guys, Mick from Specto Technology here. Today, I’m going to show you how to calibrate a VOC module in the Aeroqual AQS1 monitor. So, what we’re going to do is take you through how to connect the gas cylinders up to the monitor, and then take you through the software and how you actually update the calibration curve on Aeroqual Cloud.
Service Kit
So, the first thing we’re going to do is just show you the hardware that we’re using here. So, this is in your service kit.
- This is a flow regulator at 0.1 liters per minute, a hundred milliliters per minute.
- Then you have some tubing. This is Teflon tubing. It doesn’t absorb any contaminants. So, it’s clean.
- And then you have the T-piece here at the end.
Connecting the T-piece to the Gas Sample Train
- So, really all we’re doing from the physical side of this calibration is, just connecting the T-piece up to the gas sample train. You just do that finger tight. The T-piece has an opening. So, that’s how we want that, so that there’s excess gas flowing into the monitor. We don’t want to pressurize the gas module. So, have excess gas flow for the module.
- We then take the flow regulator, and this just connects to the gas cylinders that we’ve provided or you can purchase. Just screws in on the top. Screw it in all the way. It doesn’t have to be too tight.When you screw it in, you’ll see the needle on the regulator. And that’ll show that there’s pressure in the cylinder. And that you’ve actually got gas in there.
If the needle’s down to zero, then your cylinder is empty. To open the regulator, it’s just a knob on the side. You just need to crack that. You can hear it coming out. You then just want to attach that to your tubing. Make sure that’s on securely, so you haven’t got any leaks. And there you are now providing gas to the air quality monitor.
Two Types of Gases for Calibration
So, there are two types of gases that we’re going to provide for the calibration:
- Zero Air
- Isobutylene (which is a VOC).
So, first we’re going to calibrate at zero and then calibrate with our VOC concentration. So, that is all there is to do from this side. Obviously when you’re swapping cylinders, switching that off again. You’re just unscrewing the regulator and then screwing the regulator back on to this cylinder. Just want to open that up again. And then now we’re actually feeding it, the isobutylene. So, that’s all there is to it.
When you’re finished, you want to take the T-piece off and then you’re back to monitoring.
Making Changes to the Software
I’ve shown you how to connect the gas cylinders so now we’re going to look at the software.
- So, if you take a look at the Aeroqual Cloud – we’re calibrating a 1455. You just want to press Calibration and Service which will take you to the section that you want to be in.
- When you get to Calibration Service screen, the first thing that you want to do is go to manual entry and press Start Manual Service.
- Once you’re at Starting Manual Service, we’re now going into service mode. It’s very important to be in service mode because none of the data then gets recorded when you are calibrating. You can get some odd numbers when you’re calibrating and we don’t want that data to be included in the dataset. So, the screen may say “Service Mode Pending.” At some point it will say, “Service Mode Connect” or “In-service Mode” – it’s just loading.
- In the next step, you’ll see the current reading for the system in this box here. There are different modules here. You can have your particles, your weather station, or battery voltage. We want to be on gas because we’re doing the VOC module – that’s a gas. The VOC reading at the moment is 0.01. I have the zero air connected to this monitor. So you can just connect and click…you just click Start Calibration. Then we can get going here.
- So, what we want to do next is start a new calibration run. (If you’re renting from us, this will just be program for VOC and you won’t have to do set up calibration run.) So, just to show you how you start a new VOC calibration run.The first action we’re going to do is to run some zero air through the monitor. Then we’ll run some isobutylene through the monitor.
So, we’ll select port one, choose VOCs. We’re just going to be using a cylinder concentration today of 10 ppm. So, you just want to make both of these sections 10 ppm. So this is our span concentration. So, we just highlight that at 10 ppm. If you have another, if your cylinder has 1 ppm, then you want these to be one. So whatever the concentration of your cylinder is, you need to change it here.
Finally, we just add a third calibration point for a full calibration, which is another zero.
To recap, we’re giving zero air to the module. Then we’re going to be giving our VOC gas, isobutylene, at the concentration of 10 ppm into our module. And then we’re going to be giving zero air again. So, this is our calibration run for today.
- Select the calibration you just completed. When you select that, the system allows you to press Start. It will give you some guidelines, basically stating that this is the external calibration run.
- Now you need to manually control the zero and span, which is what we’re going to be doing.You can see we’ve got an external calibration run in progress at the top here. So, you now know that you’re in service mode. And here’s our calibration. All right. So, this arrow here says what we’re in. What section we’re in. We’re in zero.
So, at the moment, we’ve got 10 minutes of being in this section, the zero air that we were feeding this monitor. So, you have a look at this box which shows you the last 10 readings. And this box up here is just showing you a graphical version of that.
So, what you can see here, I’ve been feeding zero air for a while and it’s very constantly giving me a reading of 0.01. That is within the tolerance for this monitor and its calibration. So, you wouldn’t really need to make any changes here.
What you want to see when you’re calibrating is a stable number. So, it’s around the same number, plus or minus 0.1 ppm, when you’re working with the VOC-H module, at zero here. So, in our example, we’re well within 0.1 ppm standard deviation.
The standard deviation is actually just saying, “How different are the last 10 numbers here?” So, if you’re doing a full calibration, you should wait for 10 minutes. And that standard deviation should be very low – around 0.02 or thereabouts.
Sometimes you might not have the time or have a requirement to do these extended calibrations for 10 minutes. So, if you’re getting a stable reading after three or four minutes here, then you might elect to continue on to the next stage. With this, I’d be happy if I’m seeing the exact same reading for say, three or four minutes, that the module is stable.
Now, if I was doing this in a laboratory or I was doing it for the first time, I’d really want to do the full 10 minutes just to ensure that the monitor is stable. But in the field you might not always have time to do that. So, with three or four minutes of a stable number, you’d be fairly sure that you have a valid reading.
- If you’re happy with the calibration reading, you can skip to the next section, but if you aren’t happy with this number – if, for example, the reading was 1 ppm – you just simply hit the Recommend button and the software will recommend a new offset for you.Then click the Apply button. When you do that the instrument will believe that it’s reading zero and will display 0.00. That’s called changing your zero calibration. So, you don’t need to do that unless you have a number that’s greater than plus or minus 1 ppm. You typically won’t have to do this because the sensor is very stable and reads the zero reading very well.
That’s how you do a zero calibration. You should also do this after you have used the VOC cylinder. I recommend putting the zero cylinder on again. And just to check that you are getting that zero reading.
I would do it 10 minutes to abide by the manufacturer’s recommendations. And as you can see here, it’s now changed to zero. So, I made that small offset of 0.01, and now we’re reading zero. So, that’s about it for a zero calibration.
- Next we’re going to give the module some gas at 10 ppm and see what happens when we do that. I’m going to skip to this section. So, now we’re actually at the VOC section. Now, we haven’t changed the cylinder on the monitor. So, we can’t just expect that we’re going to get readings here. Because we actually have to physically go and change the bottle. So, I’ve shown you how to do that in the previous section. So, let’s just fast forward in time and imagine that I have changed the bottle over, I’ve attached the VOC at 10 ppm to the monitor, and we’ve been waiting for a number of minutes. So, let’s have a look and we’ll just kind of fast forward to that now.Okay, so now we’re going to look at the span calibration. So, I’m just going to start this run again. We’ve done the zero. I’ve actually got a cylinder of 20 ppm VOCs, of isobutylene. So, we’re going to use this cylinder of 20 ppm. So, I’ve changed that. You can edit here. Instead of using 10 ppm, we’ll use 20. So, you can edit each of these points here and then we’ll start the calibration run again.
We have completed our zero calibration so we want to skip that section. It’s very important that this arrow, when you’re doing the span calibration, is on the VOCs. And it’s really important that this number here is the same as the concentration in your cylinder.
So, I’ve got 20 ppm in my cylinder so I am going to have to have 20 ppm here. If you had 1 ppm in your cylinder, you have to have 1 here – that’s the way that the software will know how to adjust your calibration.
I’ve been feeding isobutylene gas to the monitor for at least the last 10 minutes. And you can see the last 10 numbers are quite stable. So, we’re at 19.83. This is our last reading.
So, we have a very low standard deviation and we’re actually within our tolerance here. The tolerance for a span calibration is 5% of the span concentration. So, 5% of 20 ppm, in this case, is 1 ppm. So, for this calibration, as long as we are between 19 and 21 (20 plus or minus 1 ppm = 19 to 21 ppm) we don’t have to make any changes at all because we’ve got a very stable reading.
As I said, as the manufacturer recommends, do 10 minutes of data. If you elect to do three or four minutes and see that it’s stable, that’s your choice. We are reasonably confident that will give you some valid data.
If our number was outside the 19 to 21 range, then we would want to change the gain.
So, to do that, we would hit Recommend. And then we would hit Apply. That would tell the monitor that it should be reading 20 ppm instead of whatever it’s reading.
When I click Apply, the system will ask, “Do you really want to apply this gain?” Yes, I do. And so, that is going to probably just bring that number up to exactly 20, but because I’m within that plus or minus one range, there’s no need to change the gain. Just like with the offset, if you are within plus or minus one, there’s no need to change the offset. You’re better off leaving it as it is.
- When we have a stable reading, a low standard deviation, we are satisfied that we’ve calibrated this at our span concentration of 20 ppm. So, we would then just move to the next and final step, swapping the cylinders over again, to ensure that I am reading at zero.We started with zero. We looked at our span. Now the manufacturer recommends that you check the zero again. So, that’s how you do a full calibration.
If you were just doing a quick calibration check, put on your gas cylinder and have a look at your readings in your managed data section. Once you’ve applied that gas, wait two or three minutes for it to change. It’s going to take that time, as I said, because it’s pulling a very low flow rate. So, if you were just doing that and then you were looking at your last minute data, you could just look at your data here and satisfy yourself that you were reading at around your span.
Conclusion
You can do a quick calibration check of the system with your span gas cylinder or you can go through the full calibration that I just showed you. You’re doing the zero gas and the span gas.
Remember once you are finished with your calibration, stop the calibration run and stop being in service mode. You don’t want to be in service mode any longer because you want the data to be valid again and part of your data set.
Reference
I want to show you a couple of tables at the end just for reference. These are available on Aeroqual support. If you look at calibration or on the online manual, this is where you can see what the manufacturer recommends. So, I was using these numbers.
For zero calibration, you want to be within plus or minus 0.1 ppm, and you want your standard deviation to be 0.02. So, very stable readings.
For your span calibration (we were using the VOC module here) you want a span of plus or minus 5%. We’re at 20 ppm. So, that number was plus or minus one ppm.
And then we also had the standard deviation of 2% of span. So, that’s what you have your tolerance there. 2% is actually 0.4 so, you have quite a wide range there. It’s usually more stable than that – you don’t usually see too much variation of those numbers in your 10 minutes of data.
-
Air-Overpressure Add-On: What’s Coming
-
Buried Geophones: When You Need Them
-
FTP Push for DoD & Sensitive Sites
-
Why Class-1 Certification Matters for Credibility
-
Solar Powered Vibration Monitoring on Urban Jobs: Do’s & Don’ts
-
Months-Long Vibration Monitoring: Battery Truths from the Field
-
Cloud Optional vs Cloud Only: The Compliance Risk No One Mentions
-
Five Vibration Monitor Installation Mistakes That Ruin PPV Data
-
Methane (CH₄) Monitoring with Aeroqual AQS 1 & AQM 65
-
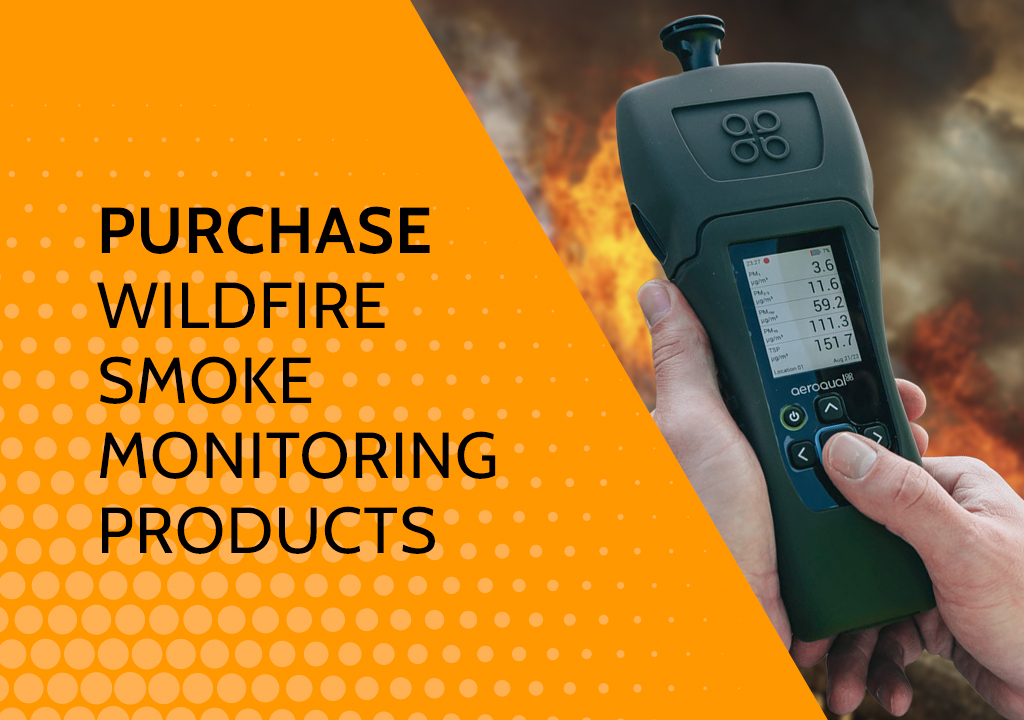 Purchase Wildfire Smoke Monitoring Products