Today we’ll take a look at how to connect to a Delta Link over a local Wi-Fi connection. This is one of two main ways to connect to your Delta Link, the other being through the web portal (which we cover in a separate video/blog).
- Power up your Delta Link and connect the Wi-Fi antenna.
- On your computer (or our phone – whichever you are using), you should see the Delta Link Management pop up and then the serial number of your Delta Link as a Wi-Fi network.
- To connect to Wi-Fi, enter the default Wi-Fi password provided with your Delta Link.
- Once connected, it will tell us there’s no internet connection, but that’s okay – it takes Windows a little while to recognize the connection. (Your Wi-Fi will be connected, but may say No Internet, Secured.)
- Now to log into the Delta Link software, you will need to download the TightVNC viewer from TightVNC’s website. You don’t need to install the server, just type VNC server so you can just do a custom install, and install just the viewer.
- Once the TightVNC Viewer is installed, you will get a dialogue box to connect. In the Remote Host box, enter “deltalink” and then the same serial number from the Wi-Fi network. Then click Connect.
- A new dialogue box will appear. Enter the default password for the VNC viewer and click Connect.
And that’s it. We are logged into the Delta Link interface over a local Wi-Fi network.
-
 New Jersey Perimeter Air Quality Monitoring (PAM) Technical Guidance Explainer
 -
 Air Quality Matters: Wildfires & AQI
 -
 Aeroqual Ranger™ Cloud from Specto Technology - Configure Alerts
 -
 Aeroqual Ranger™ Cloud from Specto Technology - Connect to Wi-Fi
 -
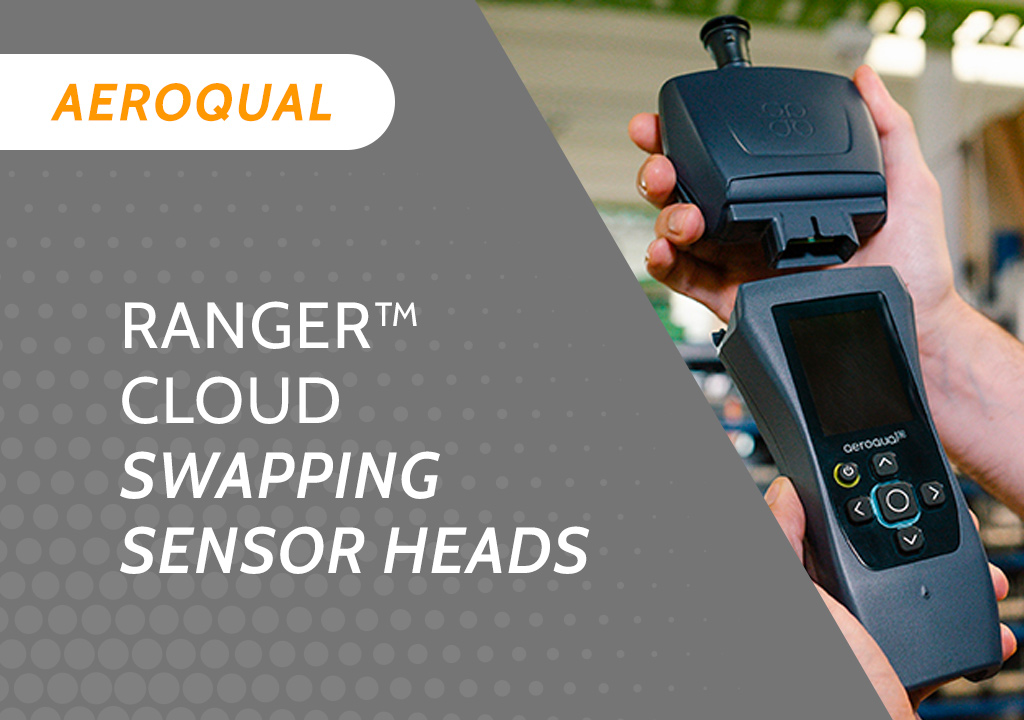 Aeroqual Ranger™ Cloud from Specto Technology - Swapping Sensor Heads
 -
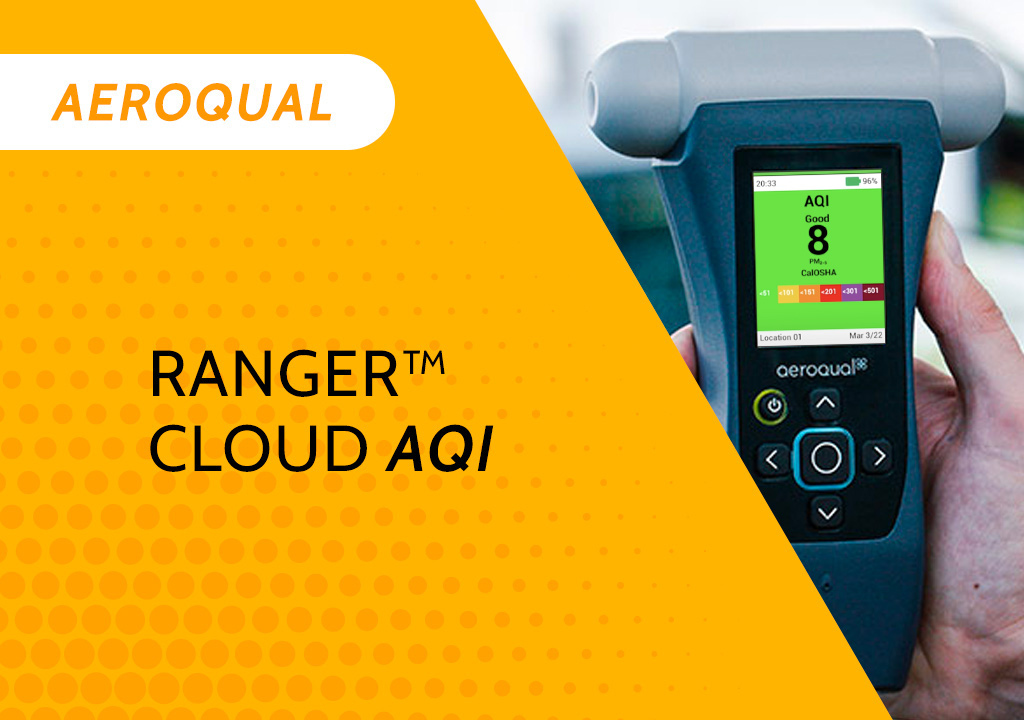 Aeroqual Ranger™ Cloud from Specto Technology AQI
 -
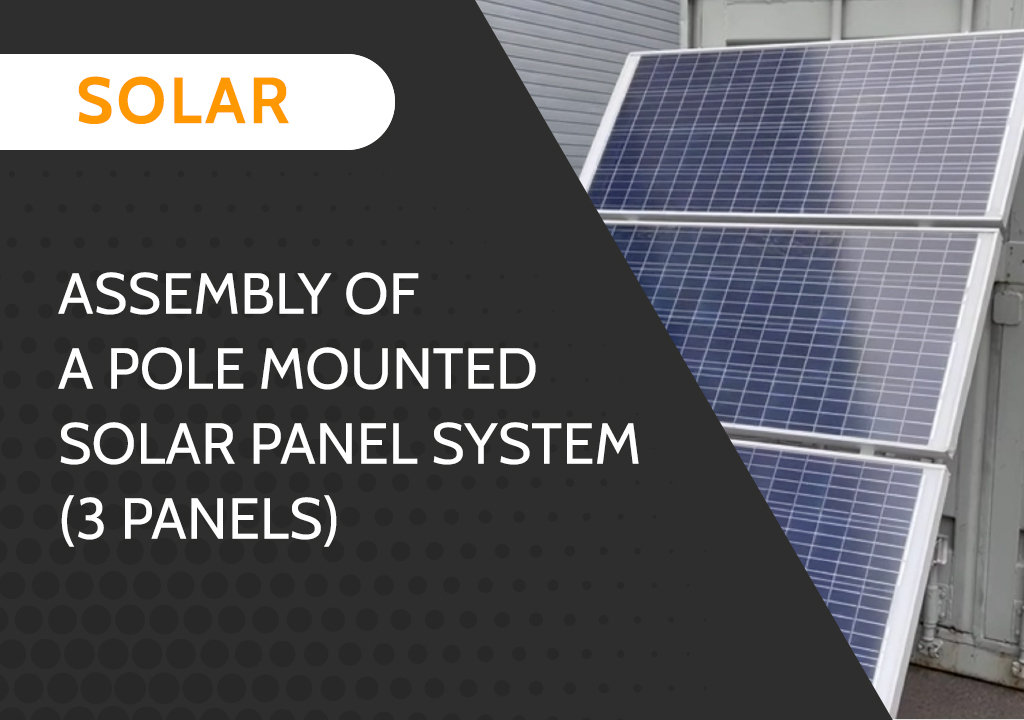 Assembly of a pole mounted solar panel system (3 panels)
 -
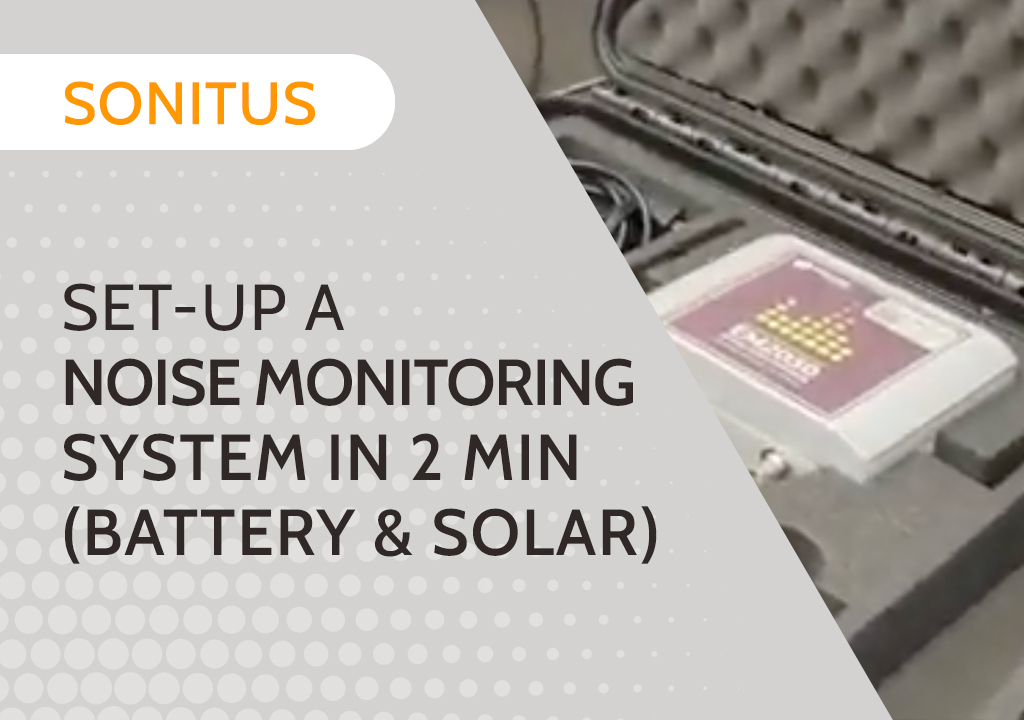 Set up a Noise Monitoring System in 2 min (Battery and Solar)
 -
 Set up a Noise Monitoring System in 2 min (Battery)
 -
 How to Calibrate the Sonitus EM2030 Microphone
