Today we’re demonstrating how to replace a PM module in the Aeroqual Dust Sentry or AQS 1 Monitors.
Removing the Module
- Once you identify the module to be removed, you’ll need to raise the inlet out of the module. To do so, take off the cyclone and TSP heads. Just unscrew the top and wedge out the components using your hands and/or a small screwdriver. Once those are loose, you can see that the inlet is now free for the module.
- Next you want to remove all of the cables. Undo the heater cable, the data cable, and the power cable.
- Now you can just unscrew the module. There are three screws on the backing plate – you only have to screw them out so that the bracket is loose. Then you can slide the bracket to the right, and pull the module out.
- There are two tubes on the module – one is for the sample and one is for the purge. You need to make sure, when you’re swapping the module over, that you put the tubing on the right end. The one closest, in silver, is the purge and the one on the back in gold is the sample. Remove those now.
- Once you have the module out, go to the back and take the tubing off. Remember that the bottom line here is the purge and the top is the sample. Remove the purge line that is coming in at the bottom on the silver fitting. and the sample line that is on the gold fitting up on the top. (Note: Make sure that you put the sample line back on the gold fitting at the top.)
- Once the tubings are off, remove the module from the backing plate by just screwing it off.
That’s how you remove the module. In the next video I’ll show you how to put it back on.
Reinstalling a PM Module into an Aeroqual Dust Sentry or AQS 1 Monitor
Today we’re demonstrating how to put a PM module back into your monitor after you’ve taken your old one out for calibration.
- When you have your new PM module, you’ll want to begin by putting the tubing back on. To do so, take your sample line which corresponds with a sample filter at the top and connect it to the brass (gold) fitting at the back. Make sure to place that tubing all the way on – it has to be secure. We don’t want to get any leaks there.
- Then we take our purge line, which connects to the silver fitting and is on the bottom, and put it on all the way, so there’s no leaks.
- Then grab your bracket again. Set up the bracket with the tubing going down and to screw it on to the module, using the four screws.
- Next we’re going to put the module (with bracket) onto the three screws on the backing plate. Make sure that all three are on there, then you can just pull it to the right, and screw the module in.
- Once the module’s back in place, we’ll put our data cable back on. Make sure your tubing is out the way. If the data cable has a screw that you removed, then screw it back on.
- Then put the power cable back in place. It shouldn’t come out very easily. Both the data cable and power cable should be firmly placed.
- Next we need to put the inlet back in. It’s really important that this inlet goes far enough into the optical module, so there’s no leak. Sometimes if it’s not long enough, it can sit there and you can actually start pulling from the top. If you haven’t played around with the top so much, it probably is the right length, so you can just push that in. Push that all the way in, as you push your inlet down. Then screw the top back down until your inlet is right inside the module. We can check this, of course, when we do our vacuum gauge, the leak check of the system. I do advise that you do a flow check, a leak check, and as your own check after you’ve installed the module.
- Finally – this is also really important – connect the heated inlet. If you don’t have the heated inlet, then water vapor can get inside the module and behave as if it’s particles.
- Now you’ve swapped your module. The module is tightly on the back and you’ve got your data cable, your power cable, your purge and sample inlet lines, and your inlet heater connected. Now put your cyclone and TSP head on the top and you’re finished.
-
 Purchase Wildfire Smoke Monitoring Products
 -
 Wildfire Cleanups and Recovery: Perimeter Air Quality Monitoring
 -
 Protection from Wildfire Smoke – California, Washington and Oregon
 -
 What is Respirable Silica Dust and Why Do You Need to Monitor It?
 -
 New Jersey Perimeter Air Quality Monitoring (PAM) Technical Guidance Explainer
 -
 Air Quality Matters: Wildfires & AQI
 -
 Aeroqual Ranger™ Cloud from Specto Technology - Configure Alerts
 -
 Aeroqual Ranger™ Cloud from Specto Technology - Connect to Wi-Fi
 -
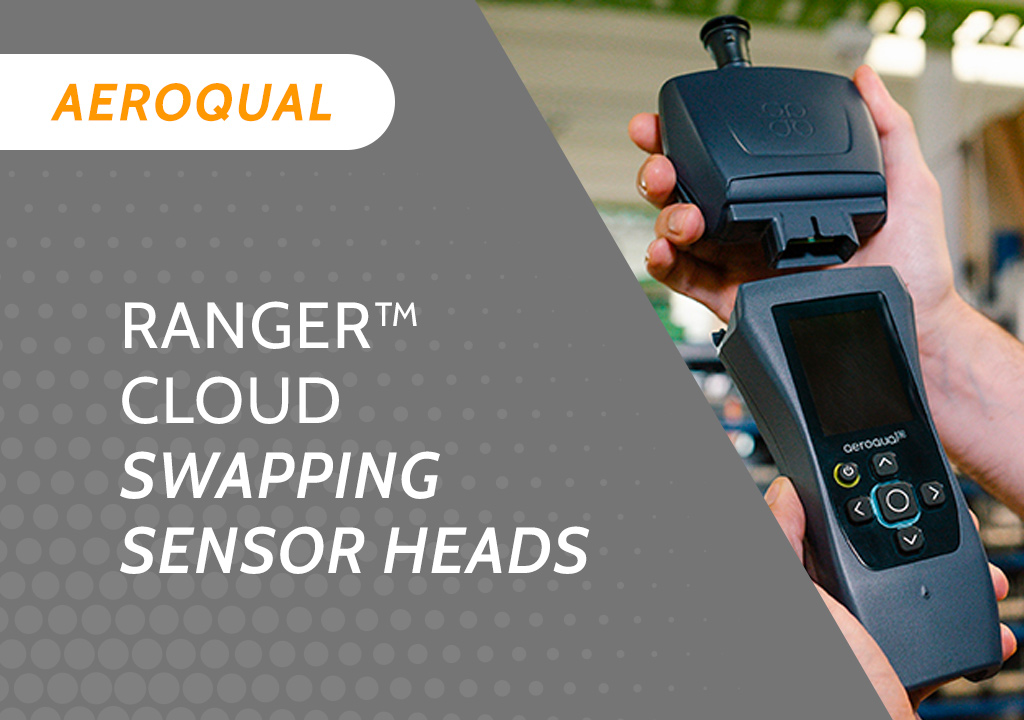 Aeroqual Ranger™ Cloud from Specto Technology - Swapping Sensor Heads
 -
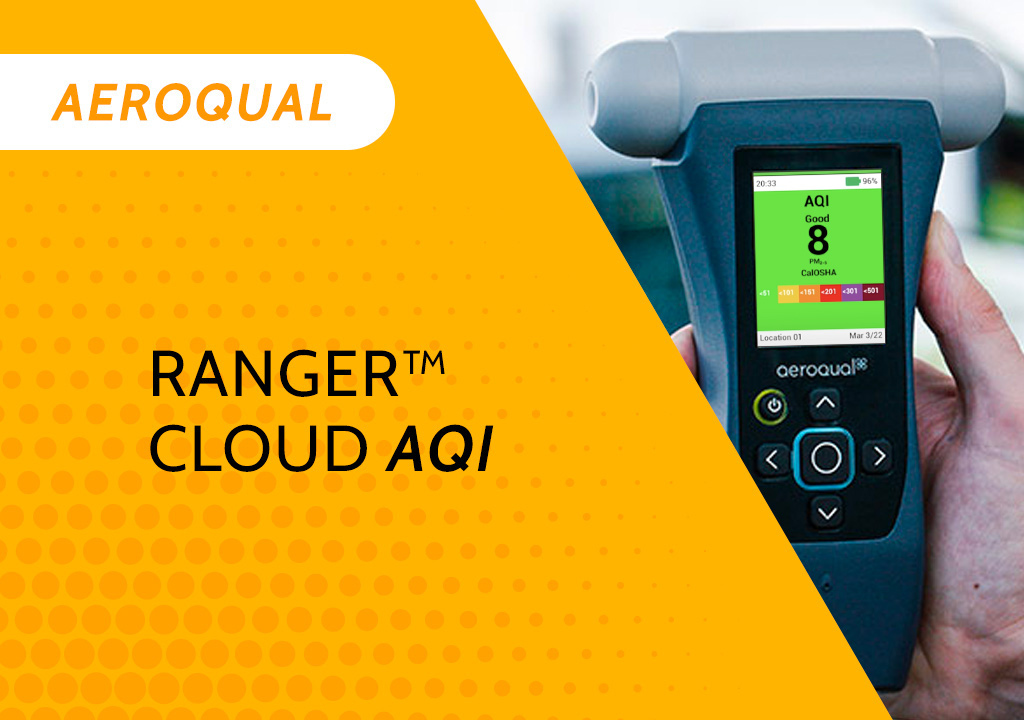 Aeroqual Ranger™ Cloud from Specto Technology AQI
