Unboxing An Optical Survey Prisms Today we are going to do a quick unboxing of a large optical survey prism. First thing we are going to open up here is going to be the box of hardware. Here we have a couple of standoffs that you can use if you are using this with some traditional survey mounts. We have another standoff adapter here. We have the hardware for fastening everything onto the prism itself. We have our small ankle bracket arm here, and then we have...
[embedyt] https://www.youtube.com/watch?v=KH2uWYHYxFA[/embedyt]
Unboxing An Optical Survey Prisms
Today we are going to do a quick unboxing of a large optical survey prism. First thing we are going to open up here is going to be the box of hardware. Here we have a couple of standoffs that you can use if you are using this with some traditional survey mounts.
We have another standoff adapter here. We have the hardware for fastening everything onto the prism itself. We have our small ankle bracket arm here, and then we have the main
bracket that the prism gets mounted onto. In this box here, we have the prism and the shield rain guard cover.
Large Optical Survey Prism Unboxing – Instructions Below
- First thing that we’re going to do is we’re going to take the prism out of its wrapper here.
- We’re going to take out the two screws, a little baggy, and then we are going to put this arm onto the back of the prism. We will leave this here.
- There are three different ways that you can put it together, but this is going to be the simplest way, and then this assembly is going to get mounted onto the base bracket, like so.
- We will grab a second screw and washer here; that’s going to go through the large hole on the triangular pour shot bracket, and it is going to get threaded directly onto this knife here, which is going to be a little tricky to do with one hand.
- Screw it on like that and you are finished.
-
Air-Overpressure Add-On: What’s Coming
-
Buried Geophones: When You Need Them
-
FTP Push for DoD & Sensitive Sites
-
Why Class-1 Certification Matters for Credibility
-
Solar Powered Vibration Monitoring on Urban Jobs: Do’s & Don’ts
-
Months-Long Vibration Monitoring: Battery Truths from the Field
-
Cloud Optional vs Cloud Only: The Compliance Risk No One Mentions
-
Five Vibration Monitor Installation Mistakes That Ruin PPV Data
-
Methane (CH₄) Monitoring with Aeroqual AQS 1 & AQM 65
-
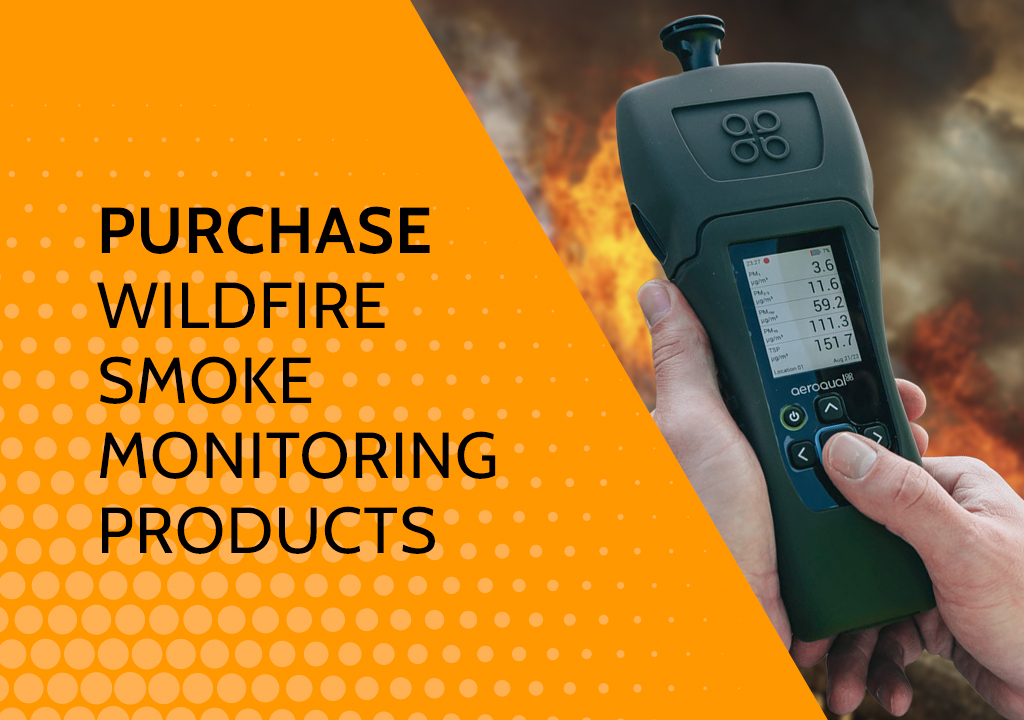 Purchase Wildfire Smoke Monitoring Products