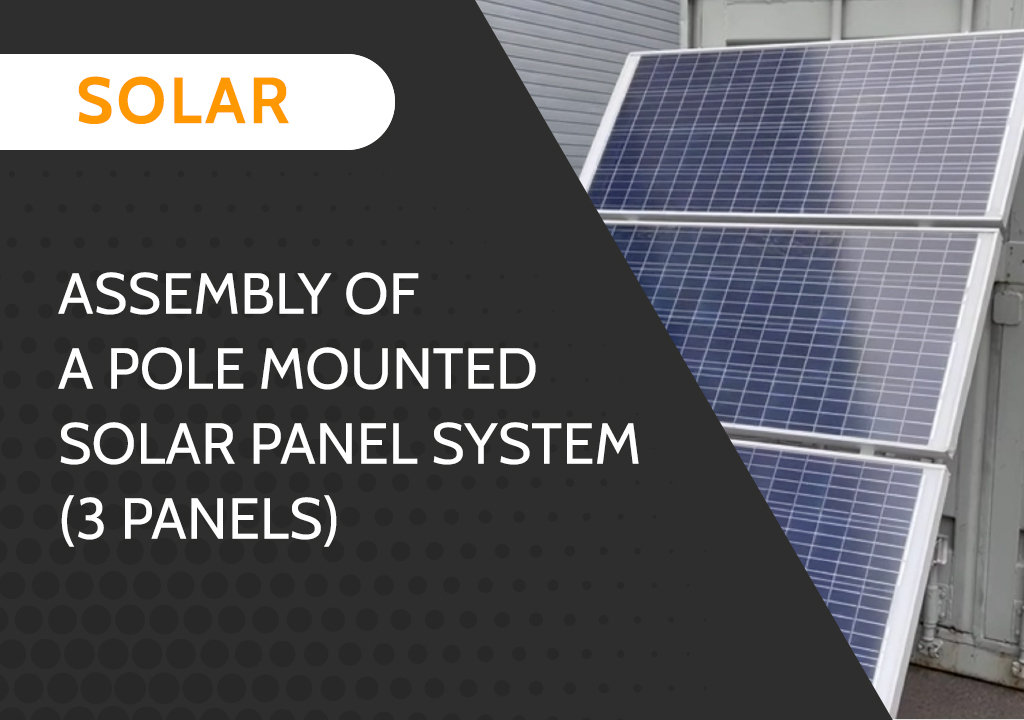
Assembly of a pole mounted solar panel system (3 panels)
Today we’re going to be assembling 350 watt solar panel brackets. Before we get started, here are the things that are included: three solar panels (150 watts a piece), eleven brackets total, three hardware bags, and instructions. You’ll need your own tools and U-bracket, U-bolt brackets, screws and nuts for mounting this to a pole.
Loosely assemble the brackets that are going onto the pole in which you’ll be mounting the solar panels. To do that, you take each of the angle brackets and put them on the end of each of the pole mount brackets with a nut and a washer on the back and a lock washer and a nut on the inside. The way to do this is not to tighten it up before you go much further. Just put them on loosely so they’re tight enough, but they’re not going to slip.
Take the three solar panels and attach the L-brackets with the inside of the L facing the inside of each panel on the second hole in from the end on both sides. You will need a bolt, a locknut, and a washer, and a nut for each. Assemble the solar panels on grass or a soft surface. In this case, we used cardboard underneath the solar panels. Be careful to not put any pressure on the back side of the solar panels, or you’ll crack the cells on the front and the panel will not be functional.
Add the two angle brackets and the stabilization bracket. It’s very important to make sure that the distance in between these two brackets is just shy of 38 inches. You’ll use a bolt with a washer on the back, a lock washer and a nut.
Attach angle brackets and the stabilization bar to the bottom of the solar panels, using a nut and a bolt, a washer, and a lock washer.
Pull the bar up and mount it to both of the two brackets on the pole. You can also just mount it to the bottom bracket on the pole to get this set. Then put the top part of the solar panel onto the top bracket on the pole. For the sake of mounting, we used a sea container, a pole on a sea container and our own U-bolts around this pole. You can see that this is still loose and adjustable when we go to install the solar panels onto the top bracket.
The bar that runs and connects all the solar panels together has to be on the outside of the bracket that’s attached to the pole. This allows it to be able to swing up or down during installation and setting the angle of your solar panel.
The bracket which connects to the corner of the solar panel has to be on the inside, so you can facilitate rotation of the angle of your solar panel. If you’d like to adjust the angle of your solar panel, you would leave the top part of your solar panel stationary. Take the lower portion on your pole, move it up, which would cause this lower bracket to shift up on your pole and adjust the solar panel angles.